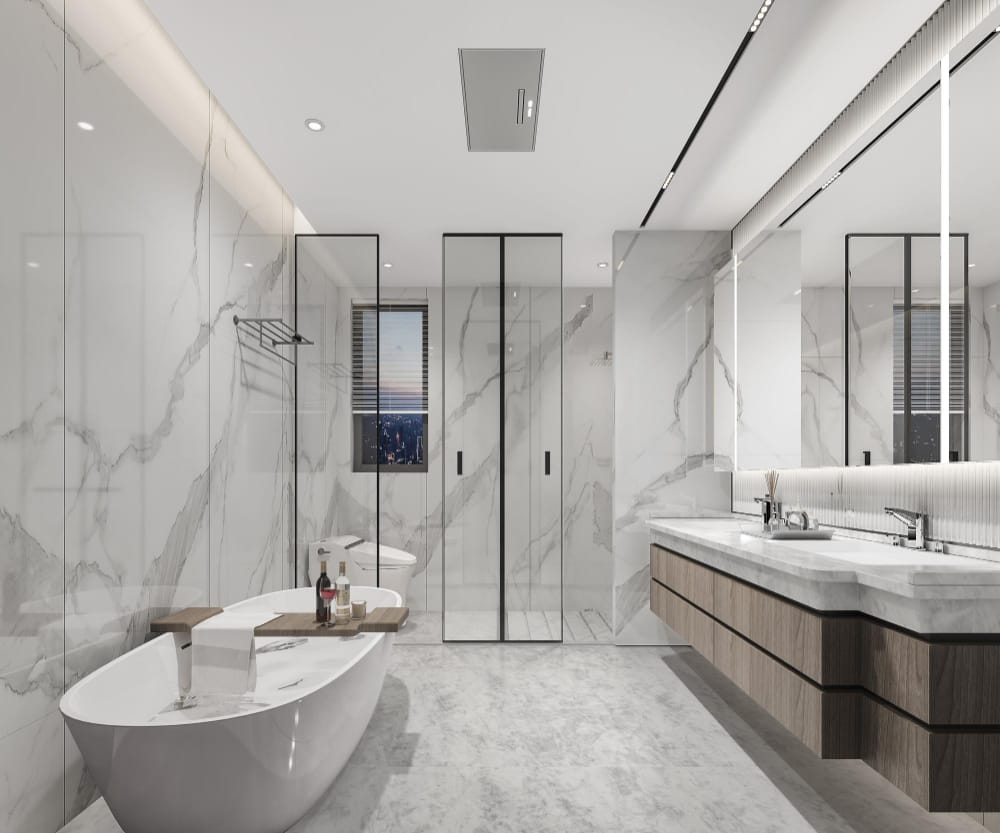
Design with Purpose: A Step-by-Step Guide to Meaningful Bathroom Remodels in Sacramento

A bathroom isn’t just a space—it’s a place to begin and end each day with intention. For homeowners in Sacramento, remodeling a bathroom is more than a cosmetic project; it’s a chance to transform how you live, breathe, and connect to your space.

Inspired by Nate Berkus, this guide is about more than tile and fixtures—it’s about creating a space that tells your story, feels deeply personal, and works beautifully.


✨ Step 1: Begin with a Vision, Not Just a Budget

Before touching a floor plan, step back and ask yourself:

  • How do I want to feel in this space?

  • What isn’t working for me today?

  • What design details truly reflect who I am?

Nate Berkus often says, “Your home should tell the story of who you are, and be a collection of what you love.” So your remodel begins not with measurements—but with meaning.


🧠 Step 2: Understand the Space You’re Working With

Bathrooms in Sacramento vary—from compact 1950s ranch styles to spacious new builds. Measure thoroughly, document limitations (like venting, plumbing lines), and take note of natural light.

Understanding these constraints up front allows for creative, intentional design—the kind Nate is known for.


🎨 Step 3: Choose Materials That Reflect Your Taste, Not Just Trends

Ask yourself:

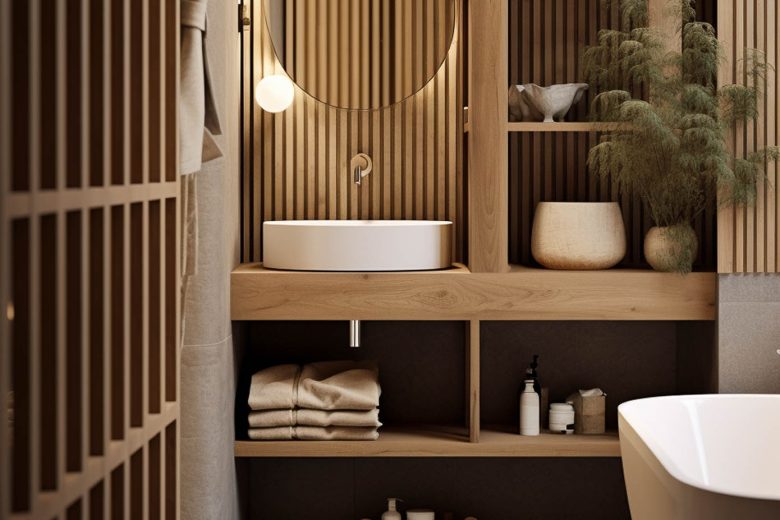
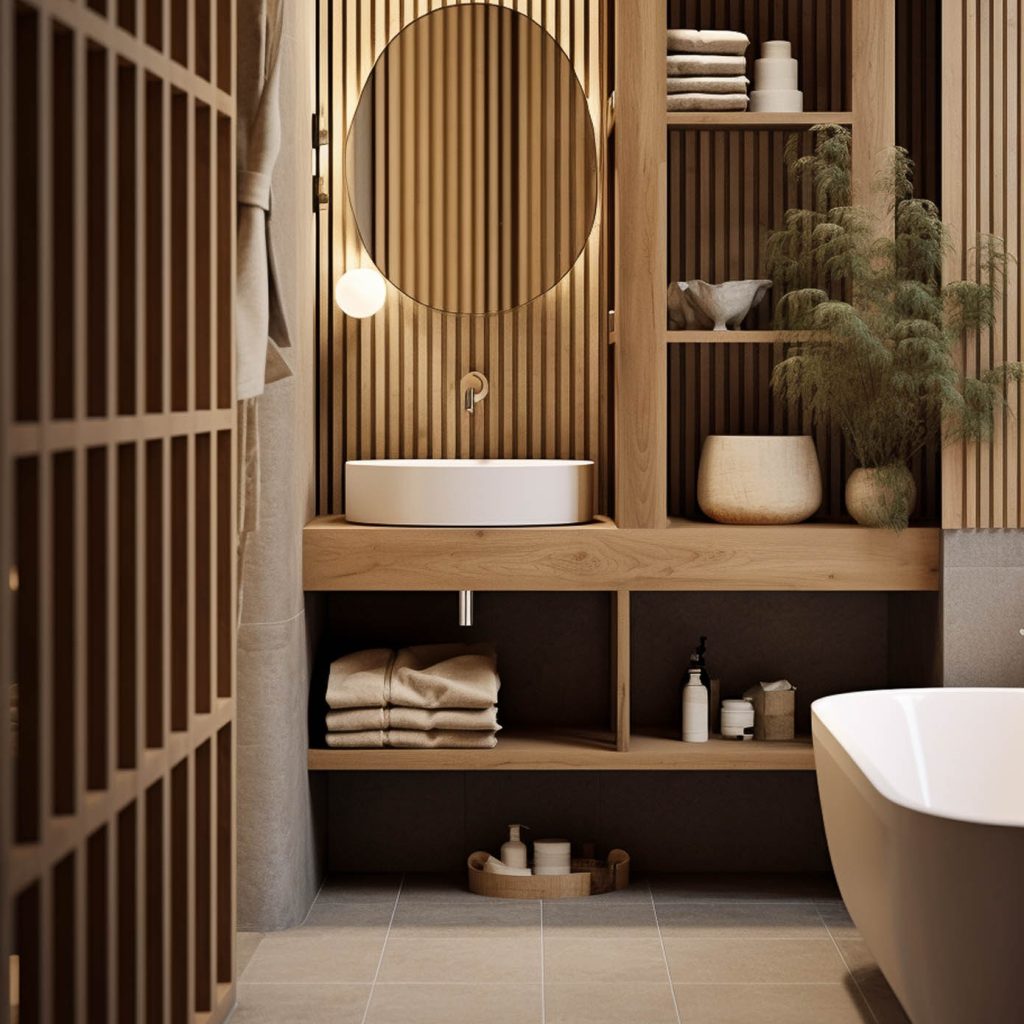
  • Do I want warmth (brushed brass, creamy tile, natural wood)?

  • Or cool elegance (black fixtures, stone finishes, chrome details)?

Think about materials you’ll still love 10 years from now. Choose tile, fixtures, lighting, and cabinetry that feel timeless, tactile, and true to you—not just what’s trending on social media.


🛠️ Step 4: Layer in Function Through Design

Yes, a bathroom must be beautiful—but it also must work.

Here’s where function meets form:

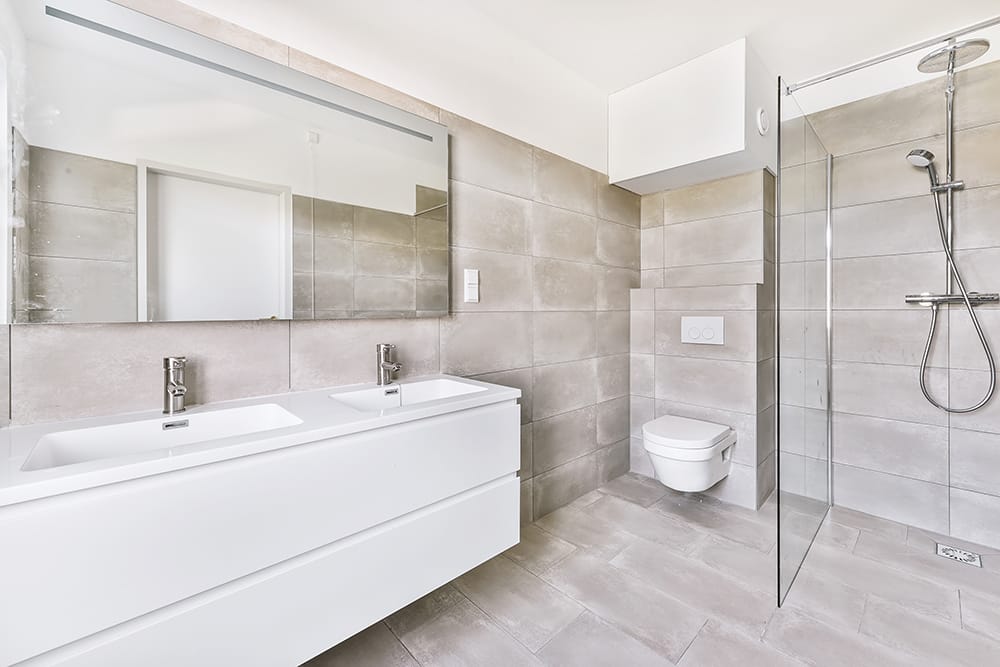
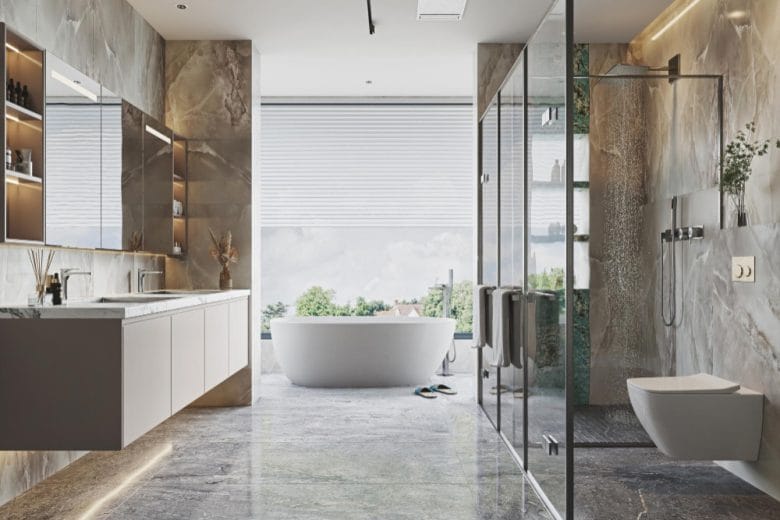
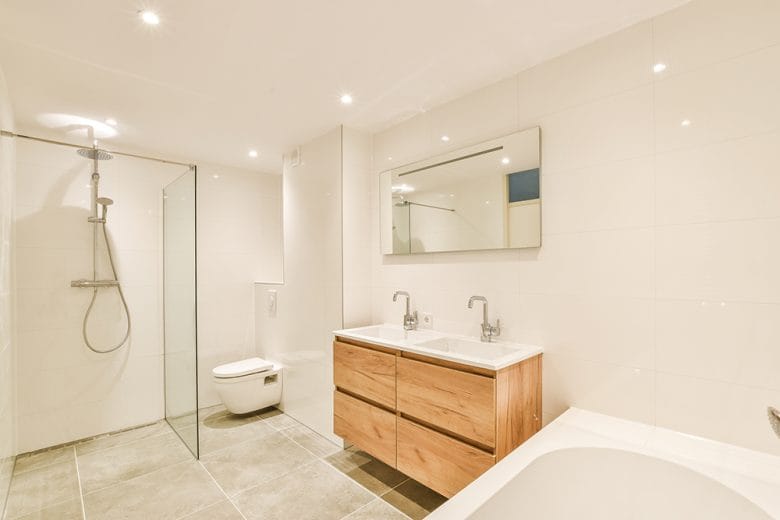
  • Floating vanities open the floor visually and provide great storage

  • Recessed medicine cabinets hide clutter without stealing space

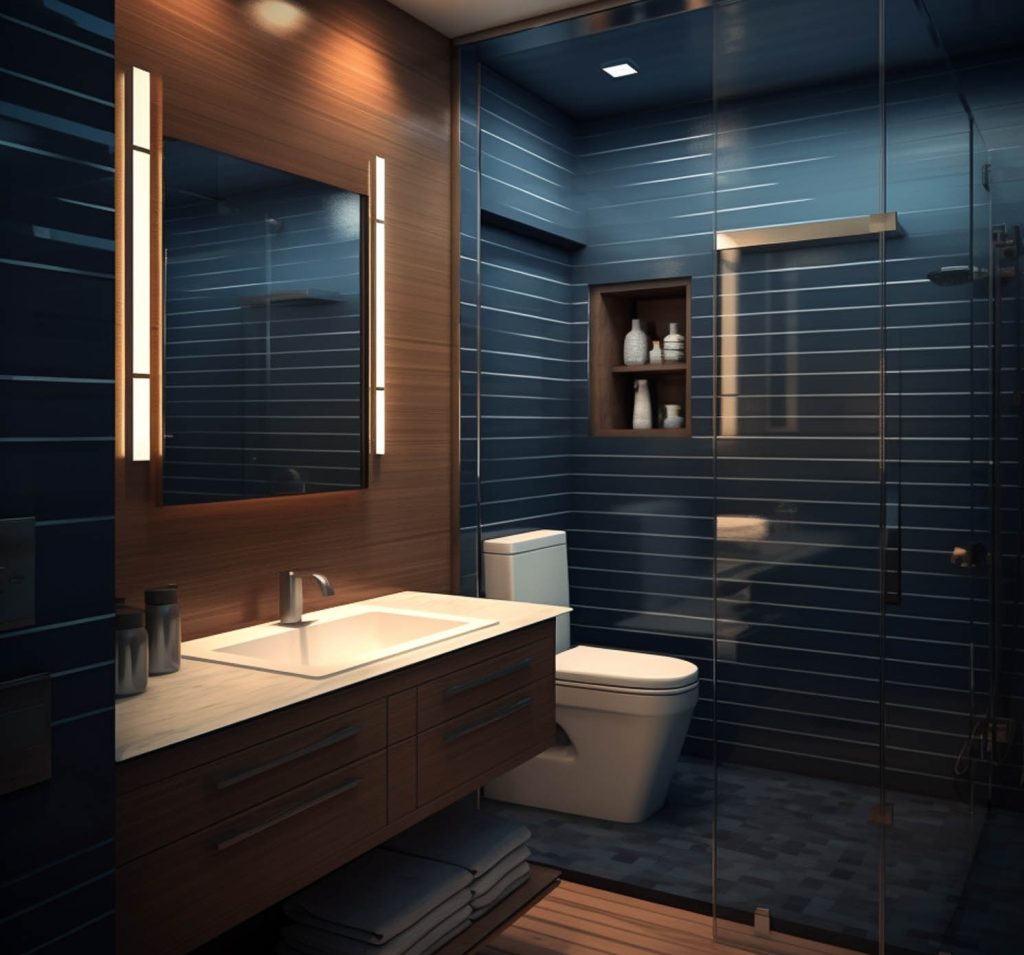
  • Walk-in showers with glass enclosures feel expansive, even in small rooms

  • Statement mirrors add polish, especially when paired with sconces

Remember: luxury isn’t about size—it’s about experience.


💡 Step 5: Use Lighting to Set the Mood

A good Sacramento bathroom remodel doesn’t rely on overhead lighting alone. Layer in:

  • Vanity sconces at face height (for function)

  • Recessed lights with dimmers (for ambiance)

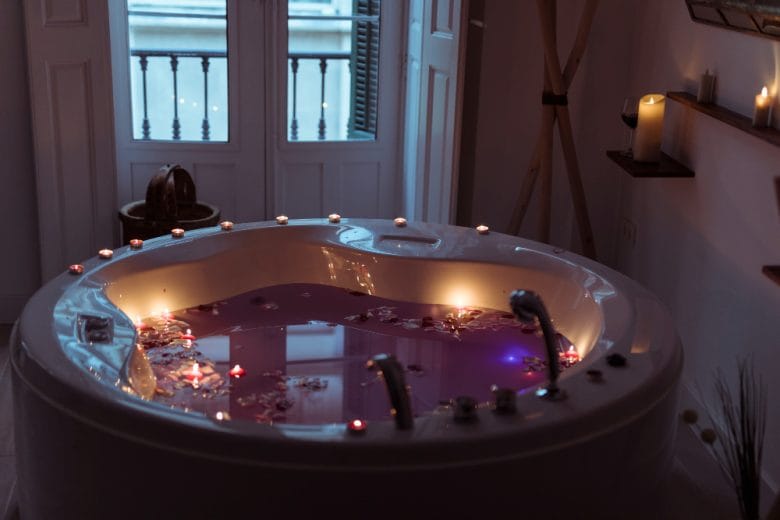
  • Accent lighting (like LED toe-kicks or backlit mirrors) for a spa-like feel

Lighting is one of the most affordable ways to make a space feel elevated and intentional.


🧱 Step 6: Add One Personal Story Element

This is the Nate Berkus signature. Include one meaningful object:

  • An antique mirror from your travels

  • A handwoven basket from your grandmother

  • Framed art that resonates

These moments make your space uniquely yours.


🛁 Step 7: Hire a Team That Respects Your Vision

A great contractor doesn’t just build—they listen. Your team should:

This isn’t just a construction project—it’s your story in the making.


✅ Final Word

Bathroom remodels aren’t only about better function—they’re about living better. In Sacramento, where homes range in style and age, every remodel has the chance to create beauty and purpose that lasts.

And in the words of Nate Berkus: “When you invest in your space, you invest in yourself.”


🧰 CALL TO ACTION

Let’s create a space that feels like home—down to every tile and towel hook.
Our Sacramento design team helps you craft a bathroom that’s personal, purposeful, and beautifully built. Start your remodel journey today.

Design with Purpose: A Step-by-Step Guide to Meaningful Bathroom Remodels in Sacramento

Exterior Remodeling: The Story of a Home Reimagined

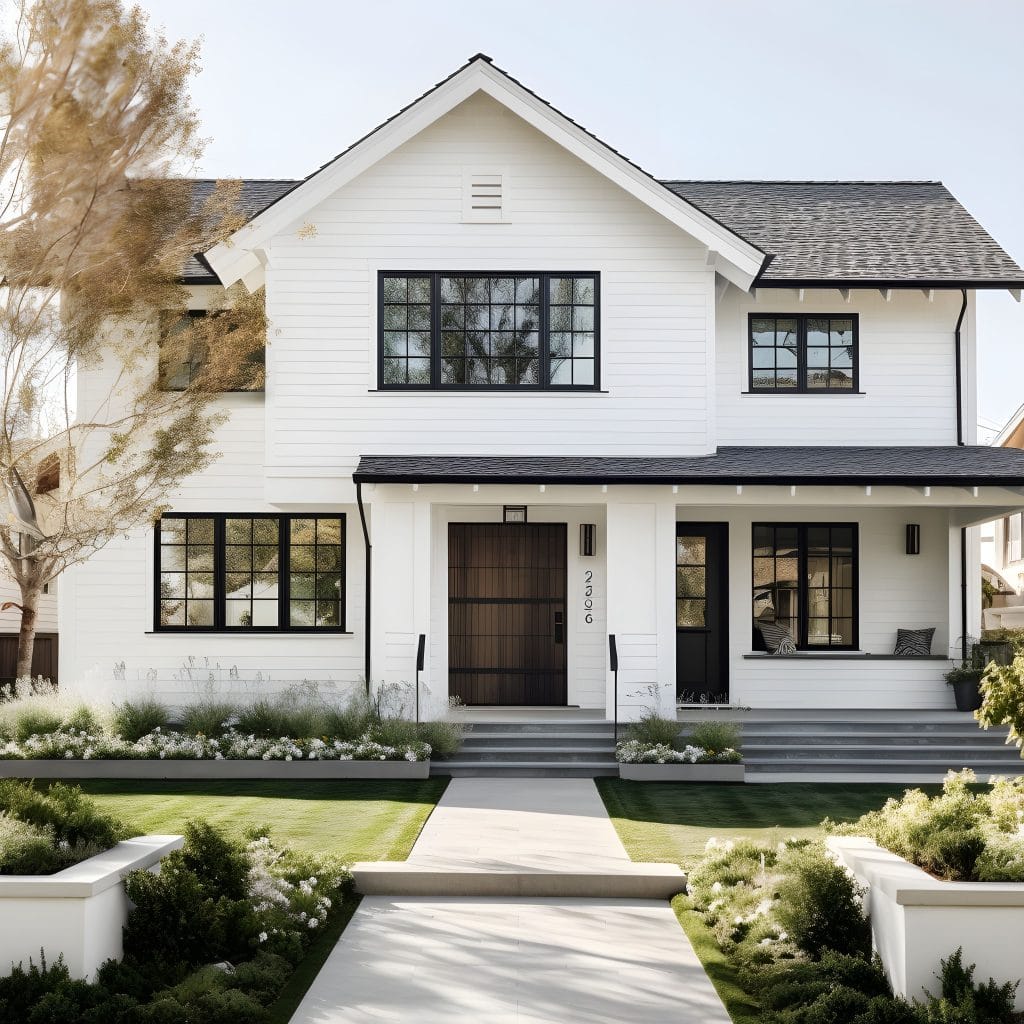
When Alex and Maya bought their colonial-style home on the edge of town, they knew it had good bones. But from the outside, you wouldn’t guess it. The faded paint, outdated shutters, and cracked walkway didn’t just mask its charm—they stifled it. Still, they saw potential. And with the help of a thoughtful design plan and a few bold decisions, they embarked on a journey to transform the house they bought into the home they loved.

In the inspiring, storytelling spirit of Jonathan Scott, this is how a neglected exterior became the pride of the neighborhood.


The Spark: A Vision for More Than Curb Appeal

It started with a conversation on the porch.

“Imagine,” Maya said, pointing to the sagging awning, “if we widened the entry, added stonework, and replaced that roofline with something more dramatic.”

Alex nodded, picturing clean white siding, dark window trim, and lantern-style sconces that added just the right touch of modern warmth.

The vision was clear: a welcoming, modern-classic exterior with depth, balance, and intention.


Designing for Function and Feeling

Together with their remodeler, they built a plan that honored the architecture while injecting fresh life into it:

  • Replaced outdated vinyl siding with James Hardie fiber cement in crisp Arctic White

  • Added board-and-batten detail for subtle contrast and texture

  • Installed energy-efficient black-framed windows

  • Reimagined the front walkway with stone pavers and layered landscaping

Jonathan Scott’s Principle: Great exteriors aren’t just about aesthetics. They’re about how a home makes you feel the moment you arrive.


The Transformation Begins

As scaffolding went up and paint brushes came down, the house started to breathe again.

Passersby stopped to comment.

Neighbors watched with curiosity and growing admiration.

And Maya? She cried happy tears the first time she saw the new porch lights come on at dusk.

“I didn’t think a house could feel this good from the outside,” she said.


More Than a Makeover

Beyond the fresh coat of paint and upgraded façade, the remodel gave the home:

  • Improved insulation and energy savings

  • Better drainage and protection from the new roofline

  • Long-term durability from weather-resistant materials

  • A renewed sense of pride in ownership

This wasn’t just a project—it was a story of reclaiming identity, honoring legacy, and building something lasting.


Final Thoughts

Exterior remodeling isn’t just about making your house look better for others. It’s about creating a space that reflects who you are, what you value, and how you want to feel every time you pull into the driveway.

Alex and Maya’s story is one of vision, patience, and transformation. And now? Their home finally tells it.

Call to Action

Ready to transform your home’s exterior into a place that inspires you daily? Our design and remodeling team is here to help you write the next chapter of your home’s story.

Siding Repair: The Key to Maintaining Your Home's Exterior

Custom Entertainment Centers: Where Elegance Meets Purpose

A beautifully designed home deserves a space where function meets refinement—and few elements strike that balance quite like a custom entertainment center. Whether you’re hosting guests, relaxing after a long day, or simply appreciating the art of everyday living, the right built-in can anchor your room both aesthetically and practically.

In a tone inspired by Sarah Richardson—polished, thoughtful, and quietly confident—let’s explore how custom entertainment centers elevate both form and function.


Why a Custom Entertainment Center Makes All the Difference

Unlike store-bought pieces that often look and feel out of place, a custom unit integrates seamlessly into your space. It can:

  • Complement your room’s architectural details

  • Provide precise storage for electronics and media

  • Offer display space for art, books, and cherished collections

A well-designed entertainment center is not simply cabinetry—it is an expression of how you live.


Designing With Purpose

A custom unit allows you to make decisions intentionally:

  • Built-in lighting for a touch of sophistication

  • Closed cabinetry to conceal clutter

  • Adjustable shelving to evolve with your lifestyle

Every component should serve a purpose while contributing to the overall serenity of the room.

Sarah Richardson Insight: The best interiors are built with intention. Clarity and organization can be just as luxurious as fabric or finish.


Materials That Elevate

Your selection of materials and finishes will influence not only how the unit looks, but how it feels:

  • Painted finishes in soft tones for a traditional aesthetic

  • Wood grain veneers for a warm, natural feel

  • Glass inserts or brass accents to add visual interest

These details offer a quiet sophistication that doesn’t overwhelm the space, but rather supports the overall design narrative.


Styling That Tells a Story

A custom entertainment center should reflect your personal aesthetic and lifestyle. Thoughtful styling might include:

  • Framed artwork layered among books

  • A mix of textures: ceramic, leather, wood, metal

  • Family mementos, subtly arranged to spark joy without creating clutter

Design Principle: Display with restraint. Let the materials and craftsmanship speak.


Final Thoughts

Investing in a custom entertainment center is about more than creating a space for your television. It’s about enriching your home with a design element that is equal parts utility and artistry. A space that helps you live better—and one that looks effortlessly beautiful while doing so.

Call to Action

Ready to elevate your living room with timeless function and beauty? Our design team can help you craft a custom entertainment center that seamlessly supports your space and style.

Custom Entertainment Centers: Where Elegance Meets Purpose

7 Reasons to Choose Vinyl Plank Flooring Right Now (Nate Berkus Would Approve)

In fast-paced home renovations, timing matters. If your floors are outdated, damaged, or simply dragging down your interior aesthetic, vinyl plank flooring might just be the most urgent and impactful upgrade you can make.

Known for his refined yet livable interiors, Nate Berkus always balances form with function—and vinyl plank checks both boxes. Here are 7 compelling reasons to make the switch today.


1. It Looks Like Real Hardwood (But Won’t Break the Bank)

Vinyl plank flooring comes in stunningly realistic wood finishes—from weathered oak to rich walnut. It captures the elegance of hardwood without the high cost or maintenance.

Nate’s Note: Great design isn’t about price tags. It’s about selecting pieces that feel intentional—and vinyl plank flooring does just that.


2. It’s 100% Waterproof

Whether you’re dealing with kitchen spills, muddy boots, or bathroom steam, vinyl plank flooring is completely waterproof.

Urgency Factor: If you’ve got water damage under that old laminate or tile, the time to replace it is now—before it spreads.


3. It’s Incredibly Durable

Kids, pets, dragging chairs, stilettos—vinyl plank flooring holds up beautifully under pressure.

  • Scratch-resistant

  • Dent-resistant

  • Fade-resistant

Design Insight: Durable doesn’t mean unattractive. Modern vinyl finishes deliver high performance without sacrificing style.


4. Quick and Easy Installation

Many vinyl plank options feature click-lock technology that allows for fast installation—even over existing floors.

Why That Matters: Renovating doesn’t have to mean weeks of disruption. Vinyl plank makes updating a space fast and efficient.


5. Low Maintenance, High Style

Just sweep and mop. That’s it. No refinishing, no waxing, no fuss.

Nate’s Rule: Great interiors should support your life—not require constant attention.


6. Budget-Friendly Without Looking Budget

You’ll find options at every price point, but even the most affordable vinyl plank flooring can elevate a room dramatically.

Urgency Insight: If you’re prepping your home for resale or just moved into a fixer-upper, this is a fast, effective value boost.


7. Works in Every Room

Vinyl plank flooring is versatile:

  • Bathrooms

  • Kitchens

  • Laundry rooms

  • Basements

  • Open-concept spaces

Consistent flooring throughout your home improves flow and makes smaller spaces feel larger.


Final Thoughts

Vinyl plank flooring isn’t a compromise—it’s a solution. Beautiful, durable, affordable, and fast to install, it meets modern design demands without delay.

Ready to bring Nate Berkus-approved style to your floors—without waiting months or spending a fortune? Then the time to act is now.

Call to Action

Need help selecting the right vinyl plank flooring for your home? Our design team is ready to guide you through options that elevate your space quickly and stylishly.

7 Reasons to Choose Vinyl Plank Flooring Right Now (Nate Berkus Would Approve)

Step-by-Step: How to Hire the Right Bathroom Remodeling Contractor in Sacramento

If you’re planning a bathroom upgrade, choosing the right contractor isn’t just the first step—it’s the most important. The quality of your remodel depends on the experience, organization, and vision of the people you hire.

So, whether you’re planning a spa-like primary bath or updating for resale in one of Sacramento’s many modern homes, this guide will walk you through the process—step by step.


✅ Step 1: Clarify the Scope of Your Remodel

Start by defining exactly what you want done:

  • Cosmetic updates (new vanity, tile, lighting)?

  • Full remodel (gutting, layout changes)?

  • Accessibility improvements (walk-in shower, wider doors)?

The clearer you are about the job, the easier it will be to get accurate estimates from bathroom remodeling contractors in Sacramento.


🔍 Step 2: Research Local, Licensed Pros

Look for contractors who:

  • Are licensed in California

  • Have experience with bathrooms specifically

  • Have portfolios that include modern and transitional designs

  • Are familiar with Sacramento’s permitting and inspection process

Pro tip: Ask if they’ve worked in modern homes like yours—they may already understand the structure, electrical layout, or plumbing quirks.


📞 Step 3: Schedule and Compare Consultations

Don’t stop at one quote. Get at least three in-person consultations to evaluate:

  • Communication style

  • Punctuality and professionalism

  • Transparency with pricing and timelines

Ask for references and recent, local projects you can verify.


📐 Step 4: Review and Compare Estimates

A trustworthy estimate should include:

  • Itemized breakdowns (labor, materials, fixtures)

  • Cost ranges for finishes and potential upgrades

  • Payment milestones

  • Estimated project timeline

Be cautious of vague language or significantly lower quotes—they often lead to costly “surprises” later.


🛁 Step 5: Finalize the Design and Materials

Now’s the time to select:

  • Cabinets and vanities (consider high-efficiency storage)

  • Flooring (slip-resistant, waterproof materials)

  • Fixtures (opt for quality over trendiness)

  • Layout flow (especially if your space is compact)

In modern homes, simplicity, functionality, and clean lines should guide your material choices.


📆 Step 6: Sign the Contract and Confirm the Schedule

Your contract should include:

  • Detailed scope of work

  • Permitting responsibilities

  • Start and end dates

  • Change order policy

Make sure your contractor provides a clear communication plan—who you’ll hear from, how often, and how updates will be handled.


Final Word from David

The right bathroom remodeling contractor in Sacramento will make your renovation not just successful—but stress-free.

Focus on preparation, communication, and professionalism at every step. When you partner with a pro who values structure and design the way you do, your new bathroom won’t just look great—it will function beautifully for years to come.

Lighting Installation: Transforming Your Bathroom with the Right Illumination

How to Win Big with a Bidding Auction

How to Win Big with a Bidding Auction

If you’re looking to purchase high-quality items at competitive prices, a bidding auction can be your gateway to exceptional deals. These auctions bring together a variety of items—from antiques to modern gadgets—offering buyers a chance to secure them through a dynamic bidding process. In this article, we’ll explore the exciting world of bidding auctions, how they work, and how you can increase your chances of winning the items you desire.

What Is a Bidding Auction?

A bidding auction is a competitive marketplace where individuals or businesses place bids to acquire goods or services. The auctioneer sets the starting price, and the highest bid wins the item. Auctions can take place in person, but increasingly, bidding auctions are held online, providing wider access and greater convenience.

Why Participate in a Bidding Auction?

There are several reasons why a bidding auction is an attractive option for buyers:

  • Lower Prices: Since items are often sold to the highest bidder, you can find deals far below retail prices.
  • Wide Selection: Whether you’re interested in fine art, electronics, or furniture, bidding auctions often feature a wide array of goods.
  • Transparency: Online bidding auctions offer real-time updates on bid status, so you can track how much you’re competing against.
  • Unique Finds: Auctions are a great way to find rare or limited-edition items that you won’t find in stores.

Tips for Success in Bidding Auctions

Participating in a bidding auction requires strategy and preparation. Here are some tips to help you win:

  • Research: Understand the true value of the item you’re bidding on, so you can make informed decisions.
  • Set a Budget: It’s easy to get caught up in the excitement, but sticking to a budget ensures you don’t overspend.
  • Bid Smartly: Don’t place your first bid too early. Wait until the auction is nearing its end to place your highest offer.
  • Watch for Snipers: Some bidders wait until the final seconds to place their bid. Be prepared to react quickly in the closing moments of the auction.

Online vs. In-Person Bidding Auctions

While bidding auctions have traditionally been in-person events, the rise of online auctions has changed the way people participate. Online bidding auctions allow for real-time bidding from anywhere in the world. You can browse catalogs, place bids, and track auction status all from your computer or mobile device. However, in-person auctions offer the thrill of direct interaction with other bidders, and sometimes, the opportunity to inspect items firsthand.

Conclusion

A bidding auction can be a great way to acquire valuable items for a fraction of the price. Whether online or in-person, participating in these auctions offers a unique and engaging experience. By doing your research, setting a budget, and bidding wisely, you can maximize your chances of winning.

How to Win Big with a Bidding Auction

Wood Cabinet Refinishing: A Fresh Look for Your Home

Wood cabinets are a timeless feature in many homes, offering a warm, classic aesthetic that never goes out of style. However, over time, they can show signs of wear and tear, from scratches and stains to fading and discoloration. Instead of replacing your cabinets entirely, wood cabinet refinishing offers an affordable and eco-friendly way to restore their beauty, extend their lifespan, and breathe new life into your kitchen, bathroom, or any other room in your home.

What is Wood Cabinet Refinishing?

Wood cabinet refinishing is the process of restoring and rejuvenating existing cabinets by sanding, staining, painting, or applying a fresh coat of finish. Unlike cabinet replacement, refinishing focuses on revitalizing your current cabinetry, preserving the frame while giving it a brand-new look. It’s an excellent option for homeowners looking to update their space without the high cost and effort of a full remodel.

Why Choose Wood Cabinet Refinishing?

  1. Cost-Effective
    One of the primary benefits of refinishing wood cabinets is the cost savings. Replacing cabinets can be expensive, especially when factoring in labor and materials. Refinishing allows you to keep your existing cabinets while achieving a fresh, updated appearance at a fraction of the price.

  2. Eco-Friendly Option
    Refinishing helps reduce waste by reusing the existing cabinetry. Instead of sending old wood cabinets to a landfill, refinishing gives them a second life, making it a sustainable choice for environmentally-conscious homeowners.

  3. Time-Saving
    While cabinet replacement can take weeks, refinishing typically takes much less time, with some projects completed in just a few days. This means less disruption to your daily routine and a quicker turnaround on the refreshed look.

  4. Increased Property Value
    Well-maintained cabinets can increase the overall value of your home, especially if you plan to sell in the future. A fresh finish can make your kitchen or bathroom feel more modern and well cared for, making it more attractive to potential buyers.

The Wood Cabinet Refinishing Process

  1. Assessment and Preparation
    The first step in refinishing wood cabinets is assessing their condition. Once this is done, all cabinet doors, drawers, and hardware are removed, and the surfaces are cleaned thoroughly to remove any grime or oils that could interfere with the finish.

  2. Sanding
    Sanding is crucial to achieving a smooth, even surface for the new finish to adhere to. Depending on the condition of the wood, this may involve stripping the old paint or stain, followed by sanding down the surface to remove imperfections.

  3. Staining or Painting
    Once the surface is prepped, the next step is applying the desired finish. For those looking to retain the natural beauty of the wood, staining can enhance its grain and color. Alternatively, painting is a great option for a more modern or uniform look.

  4. Sealing and Finishing
    After the stain or paint has dried, a protective topcoat is applied to seal the surface and protect it from wear and tear. This also adds a glossy or matte finish, depending on your preference. The final result should be a durable, long-lasting surface that retains its beauty for years to come.

Tips for a Successful Wood Cabinet Refinishing Project

  1. Choose the Right Stain or Paint
    Selecting the right finish is key to achieving the look you want. Stains enhance the natural beauty of the wood, while paint offers a solid, uniform color. Be sure to choose high-quality materials to ensure long-lasting results.

  2. Consider the Finish
    Whether you prefer a high-gloss finish or a matte look, make sure to select the appropriate topcoat. Glossy finishes are easy to clean and offer a polished look, while matte finishes can add a more rustic or soft, contemporary feel.

  3. Test a Sample
    Before committing to the entire project, test a small area of the cabinet to ensure the stain or paint gives the desired effect. This helps avoid any surprises and ensures you’re happy with the final outcome.

  4. DIY or Professional?
    While refinishing wood cabinets can be a DIY project for the experienced homeowner, it’s often best left to professionals if you want the most flawless results. Professional refinishing services will have the right tools, expertise, and patience to achieve the perfect finish.

Conclusion

Wood cabinet refinishing is a fantastic option for those looking to update their kitchen or bathroom without the need for expensive replacements. This process not only saves you money but also gives your cabinets a fresh, updated look that can last for years to come. Whether you’re going for a sleek modern finish or a rustic charm, refinishing allows you to customize the look of your cabinets while preserving the integrity of the original wood. With the right materials, techniques, and a little effort, your wood cabinets can be transformed into a stunning focal point that enhances the overall appeal of your home.

Wood Cabinet Refinishing: A Fresh Look for Your Home

Flooring Installation: A Step-by-Step Guide for Your Home

When it comes to home renovation, flooring installation is one of the most transformative changes you can make. New floors can breathe life into any room, from the kitchen to the bathroom, and even add significant value to your property. Whether you’re opting for hardwood, laminate, tile, or vinyl, proper flooring installation can drastically improve the aesthetic and functionality of your home.

In this article, we’ll break down the process of flooring installation, the different types of flooring materials available, and how to choose the best option for your space.

Why Flooring Matters

Your home’s flooring is more than just a surface to walk on—it plays a crucial role in setting the tone for the entire room. Here’s why flooring is so important:

  • Aesthetic Appeal: Flooring can complement your home’s style, whether it’s rustic, modern, or traditional. The right floor can help create the mood and look you’re after.
  • Durability: Different materials offer varying levels of durability, meaning some are more suitable for high-traffic areas than others.
  • Comfort: Flooring can impact the comfort of your home. For instance, carpet can make a room feel cozy, while tile can offer a cool, sleek look perfect for kitchens and bathrooms.
  • Value: Quality flooring can increase the resale value of your home, making it a wise investment.

Types of Flooring Materials

The first step in flooring installation is choosing the right material for your space. There’s no shortage of options available, and the best choice for you will depend on factors like style, durability, and budget.

1. Hardwood Flooring
Hardwood floors are timeless, offering warmth and elegance to almost any room. They come in a variety of species, colors, and finishes, and can add a natural charm to your home.

  • Pros: Durable, increases home value, natural appearance, can be refinished.
  • Cons: Expensive, susceptible to scratches, and may need refinishing over time.

2. Laminate Flooring
Laminate is a budget-friendly alternative to hardwood and is designed to look like wood, stone, or tile. It’s easy to clean and highly resistant to scratches and fading.

  • Pros: Affordable, low maintenance, easy to install, available in many designs.
  • Cons: Not as durable as real hardwood, can’t be refinished.

3. Vinyl Flooring
Vinyl flooring is a versatile, waterproof option that’s perfect for high-moisture areas like bathrooms and kitchens. It’s available in planks, tiles, and sheets and can mimic the look of wood or stone.

  • Pros: Affordable, waterproof, easy to install, easy to clean.
  • Cons: Can dent or scratch easily, may not have the same aesthetic appeal as natural materials.

4. Tile Flooring
Tile is a popular option for kitchens, bathrooms, and entryways due to its durability and easy maintenance. Available in ceramic, porcelain, and stone, tile offers endless design possibilities.

  • Pros: Durable, water-resistant, variety of styles, easy to clean.
  • Cons: Cold underfoot, grout lines require maintenance, can be hard to install.

5. Carpet Flooring
Carpet is soft underfoot, making it an excellent choice for bedrooms, living rooms, and areas where comfort is key. It comes in a wide variety of textures, colors, and patterns.

  • Pros: Comfortable, sound-absorbing, comes in many styles.
  • Cons: Prone to stains and dirt, needs regular cleaning, can wear out faster in high-traffic areas.

Flooring Installation Process

Installing new flooring may seem intimidating, but with the right tools and a little patience, it can be a manageable DIY project—or you can hire a professional for a more seamless experience. Here’s a breakdown of the flooring installation process:

1. Preparation:
Before installing new floors, you’ll need to clear the area of furniture and remove any old flooring. Ensure the subfloor is clean, dry, and level, as any imperfections can affect the installation.

2. Measuring:
Accurate measurements are key to ensuring you purchase the right amount of flooring. Measure the length and width of the room to calculate square footage. Always add 10% extra to account for waste and mistakes.

3. Installing the Underlayment (if needed):
Some types of flooring, such as laminate and vinyl, require an underlayment layer to provide cushioning and soundproofing. It also helps the flooring adhere better to the subfloor.

4. Laying the Flooring:
Start by laying the flooring along the longest wall or a central point in the room. For hardwood and laminate, you may need to nail or click the planks into place. For tile, apply adhesive to the subfloor and carefully place each tile, leaving room for grout lines.

5. Cutting Flooring:
You’ll likely need to cut pieces of flooring to fit around corners, doorways, and edges. Use the appropriate cutting tool, such as a tile cutter or saw, to make precise cuts.

6. Finishing Touches:
Once your flooring is installed, install any necessary transition strips to cover the gaps between the floor and walls. For hardwood or laminate, consider applying a finishing coat to protect the surface.

How to Choose the Best Flooring for Your Home

Choosing the right flooring depends on several factors:

  • Room Function: Consider how the room will be used. For example, waterproof vinyl or tile is perfect for bathrooms and kitchens, while plush carpet is ideal for bedrooms.
  • Budget: Some materials, like hardwood, can be expensive, while others, like laminate or vinyl, are more affordable. Set a budget before shopping.
  • Style Preferences: Choose a floor that complements your home’s design and your personal aesthetic. Whether you prefer a classic hardwood look or a modern tile design, there are countless options to suit every taste.
  • Durability Needs: If you have kids or pets, look for flooring that can withstand wear and tear, like laminate or tile. If you’re in a high-traffic area, choose a more durable option that won’t show scratches easily.

Conclusion: Transform Your Home with Flooring Installation

Whether you’re renovating an entire home or updating a single room, flooring installation is one of the most effective ways to enhance your space. With so many options available, there’s a flooring material to match every style, need, and budget. By choosing the right type of flooring and following the proper installation steps, you can transform your home into a more beautiful, functional space that will last for years to come.

Flooring Installation: A Step-by-Step Guide for Your Home

Energy-Efficient Upgrades: Transform Your Home and Save on Utility Bills

As the world becomes more conscious of energy consumption, homeowners are increasingly seeking ways to reduce their carbon footprints and save on utility bills. Energy-efficient upgrades are a smart investment that not only benefit the environment but also make your home more comfortable and cost-effective. From insulation improvements to modern windows, there are a variety of upgrades that can help lower your energy consumption and improve your home’s performance. In this article, we’ll explore the most popular energy-efficient upgrades you can make to your home and how they can help you save in the long run.

1. Start with Proper Insulation

The first step to achieving an energy-efficient home is ensuring that your insulation is up to date. Insulation helps keep your home at a comfortable temperature by reducing heat loss in the winter and keeping cool air inside during the summer. Without proper insulation, your heating and cooling systems have to work harder, leading to higher energy bills.

Consider upgrading attic, wall, and floor insulation to improve your home’s energy efficiency. Spray foam insulation, fiberglass batts, and blown-in cellulose are popular materials that provide excellent thermal resistance. Insulating your home properly also reduces strain on HVAC systems, extending their lifespan and improving your overall comfort.

2. Energy-Efficient Windows

Old, drafty windows are a significant source of energy loss in many homes. Replacing outdated windows with energy-efficient models can drastically improve your home’s insulation. Modern windows come with a variety of features designed to reduce energy loss, including double-glazed glass, Low-E coatings, and gas fills like argon, which help to reduce heat transfer.

Energy-efficient windows can keep your home warm during the winter and cool during the summer, reducing your reliance on air conditioning and heating systems. While the initial cost of window replacement can be significant, the long-term savings on utility bills and the added comfort make it a worthwhile investment.

3. Upgrade to Energy-Efficient Appliances

One of the easiest ways to reduce your home’s energy consumption is by replacing old appliances with newer, energy-efficient models. Energy-efficient appliances, such as refrigerators, dishwashers, washing machines, and dryers, consume less electricity and water, making them eco-friendly and budget-friendly.

Look for appliances that are certified by ENERGY STAR, which indicates that they meet strict energy efficiency standards. These appliances are designed to use less energy without sacrificing performance, helping you save money in the long run. For example, an ENERGY STAR-rated refrigerator can save you hundreds of dollars over its lifespan compared to a non-efficient model.

4. Smart Thermostats for Temperature Control

A smart thermostat is one of the easiest ways to save energy and money. Unlike traditional thermostats, which require manual adjustments, smart thermostats learn your home’s temperature patterns and adjust automatically to optimize energy use. You can also control smart thermostats remotely via a smartphone app, ensuring your home is always at the perfect temperature without wasting energy.

By programming your smart thermostat to lower the temperature while you’re away or sleeping, you can significantly reduce heating and cooling costs. Some models even have features like geofencing, which adjusts the temperature when you’re nearby, further optimizing your energy savings.

5. Energy-Efficient Lighting

Switching out your old incandescent light bulbs for LED bulbs is a simple yet effective upgrade for any home. LED bulbs use up to 75% less energy than incandescent bulbs and can last up to 25 times longer, making them a cost-effective lighting option in the long run.

Additionally, you can install motion sensors or dimmer switches to reduce unnecessary energy usage. By automatically turning off lights when no one is in the room or adjusting their brightness, you can save even more energy while still maintaining an inviting atmosphere in your home.

6. Solar Panel Installation

For homeowners looking to take energy efficiency to the next level, installing solar panels is a powerful upgrade. Solar energy systems harness the power of the sun to generate electricity for your home, reducing your reliance on traditional energy sources and lowering your utility bills.

While the upfront costs of solar panel installation can be high, federal and state incentives, tax credits, and rebates can significantly reduce the cost of installation. Over time, solar panels can save you thousands of dollars on electricity bills and increase your home’s value.

7. Seal Air Leaks and Gaps

Air leaks around doors, windows, and ducts can account for a significant amount of energy loss. By sealing gaps and cracks, you can improve your home’s insulation and reduce the workload on your heating and cooling systems.

Caulking and weatherstripping are simple and affordable solutions for sealing air leaks. You can also consider using foam sealants or spray foam insulation to fill larger gaps. Sealing air leaks is a quick and easy way to make your home more energy-efficient without requiring a major renovation.

8. Upgrade Your Water Heater

Water heating can account for a significant portion of your energy bill. Upgrading to an energy-efficient water heater, such as a tankless water heater or a solar water heater, can significantly reduce your energy usage.

Tankless water heaters, also known as on-demand water heaters, only heat water when it’s needed, reducing energy waste. They are more compact and efficient than traditional storage water heaters, which continuously heat and store water. Solar water heaters use the sun’s energy to heat water, providing an environmentally friendly and cost-effective option for homeowners looking to reduce their energy consumption.

9. Landscaping for Energy Efficiency

Did you know that the landscaping around your home can also impact your energy efficiency? Planting trees and shrubs strategically can help provide natural shade and windbreaks, reducing the need for air conditioning during hot months and lowering heating costs during the winter.

Deciduous trees, which lose their leaves in the winter, are ideal for shading your home in the summer while allowing sunlight to warm your home in the winter. Consider consulting a landscaping professional to design an energy-efficient landscape that works in harmony with your home’s natural surroundings.

Conclusion: Start Your Energy-Efficient Upgrade Today

Making energy-efficient upgrades to your home is a win-win situation. Not only do these improvements help reduce your carbon footprint, but they also lower your utility bills, making your home more comfortable and affordable to live in. Whether you’re updating your insulation, installing energy-efficient windows, or adding solar panels, each upgrade brings you one step closer to a more sustainable and cost-effective home. Start planning your energy-efficient upgrades today and enjoy the benefits for years to come.

Energy-Efficient Upgrades: Transform Your Home and Save on Utility Bills

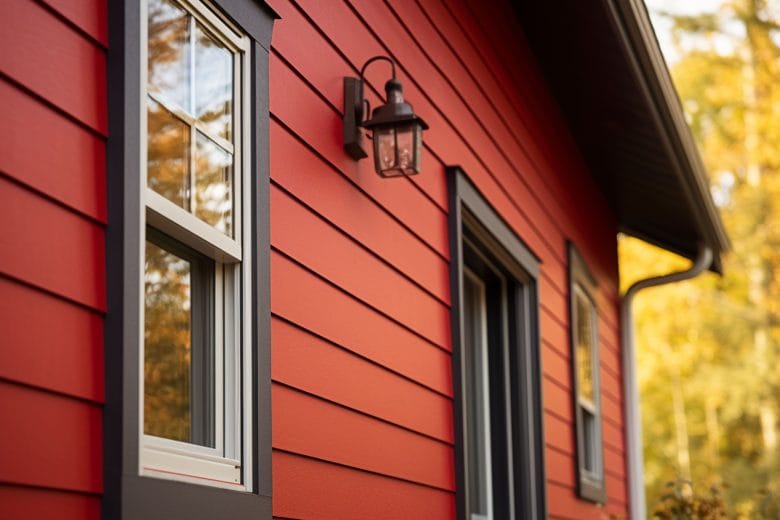
Siding Repair: The Key to Maintaining Your Home’s Exterior

When it comes to maintaining your home, siding plays an essential role in protecting your property and enhancing its curb appeal. Over time, however, siding can suffer from wear and tear due to weather, pests, or general aging. If you notice cracks, warping, or fading, it might be time for some siding repair. Addressing these issues early can save you money and protect your home from further damage.

Why Siding Repair Is Important

Siding is your home’s first line of defense against the elements. It shields your house from rain, wind, sun, and even pests. As the exterior of your home, siding can become damaged over time, especially in areas with extreme weather conditions. Repairing your siding promptly is critical for several reasons:

  1. Preventing Water Damage
    One of the most significant threats to your home is water infiltration. Cracked or damaged siding can allow water to seep into your walls, leading to mold, mildew, and rot. Repairing damaged siding prevents this water damage, which can be costly to fix in the long run.

  2. Maintaining Energy Efficiency
    Damaged siding can also affect your home’s insulation. Gaps or cracks allow air to escape, making it harder to keep your home warm in the winter and cool in the summer. This results in higher heating and cooling bills. Repairing your siding helps maintain your home’s energy efficiency, which can save you money on utility bills.

  3. Enhancing Curb Appeal
    Your home’s exterior plays a big role in its curb appeal. Damaged or worn-out siding can make your home look neglected, even if the rest of the property is well-maintained. Repairing your siding helps improve your home’s appearance, making it more attractive to visitors or potential buyers if you’re looking to sell.

  4. Preventing Further Damage
    If you ignore small issues with your siding, they can worsen over time. A minor crack or hole can turn into a bigger problem if left unchecked. Early siding repair can prevent these small problems from escalating into costly, more extensive damage.

Common Siding Problems and How to Repair Them

Siding problems can come in many forms, but most can be addressed with simple repairs. Here are some of the most common issues homeowners face with their siding and how to fix them:

  1. Cracked or Broken Panels
    If your siding panels are cracked or broken, they need to be replaced to prevent further damage. For vinyl or fiber cement siding, this typically involves removing the damaged panel and installing a new one in its place. Be sure to match the color and texture of the existing siding for a seamless repair.

  2. Loose or Warped Siding
    Over time, siding can become loose or warped due to changes in temperature or humidity. Loose siding can be reattached with nails or screws. Warped siding, however, may need to be replaced. In some cases, the warping may be a result of underlying issues like moisture buildup, which should be addressed before reattaching or replacing the siding.

  3. Fading or Discoloration
    Exposure to sunlight, rain, and other environmental factors can cause siding to fade or discolor. In some cases, a simple power wash can restore the color of your siding. For more significant fading, you may need to repaint or re-stain the siding. If you have vinyl siding, it’s important to use a paint that is compatible with vinyl materials to avoid damaging the surface.

  4. Holes and Dents
    Siding can get dented or punctured by falling debris, hail, or impact from animals. If you notice small holes or dents in your siding, they can often be patched. Use caulk or a patching compound for minor holes, or replace the affected panel for larger damage. Be sure to inspect the surrounding area to ensure the damage hasn’t spread or caused underlying issues.

  5. Moisture and Mold Damage
    Moisture damage is a serious issue when it comes to siding. If you notice mold or mildew on your siding, it’s important to clean it promptly to prevent further growth. A mixture of water and bleach can be used to clean most types of siding. However, if the mold has caused damage to the siding itself, you may need to replace the affected panels to prevent further mold growth inside your home.

Professional vs. DIY Siding Repair

While minor siding repairs can be handled by homeowners with some basic tools, larger repairs or replacements may require the expertise of a professional. Here’s a breakdown of when to consider doing the repair yourself or calling in the experts:

  • DIY Siding Repair:
    If you have some experience with home repairs and the damage is relatively minor (e.g., small cracks, holes, or cleaning issues), you can likely handle the repair on your own. Ensure you have the proper tools and materials before starting, and always follow safety guidelines.

  • Professional Siding Repair:
    If the damage is extensive or if you’re unsure about tackling the repair, it’s best to call in a professional. Siding repair experts have the experience, tools, and knowledge to complete the job correctly and efficiently. Additionally, they can identify underlying issues that you may not have noticed, such as mold or structural damage.

How to Prevent Siding Damage in the Future

Preventing damage is always easier than repairing it. Here are some tips to keep your siding in top condition for years to come:

  • Regular Cleaning:
    Power wash your siding annually to remove dirt, debris, and mildew buildup. This helps prevent staining and discoloration.

  • Inspect for Damage:
    Regularly inspect your siding for cracks, warping, or signs of damage. Catching issues early makes them easier and less expensive to repair.

  • Trim Vegetation:
    Keep bushes, trees, and vines trimmed to prevent them from rubbing against your siding or causing moisture buildup.

  • Seal Cracks:
    If you notice small cracks or holes, seal them promptly to prevent moisture from entering your home and causing damage.

Conclusion

Siding repair is an essential part of home maintenance. Whether you’re dealing with cracked panels, fading, or moisture damage, addressing siding issues quickly can save you money and protect your home from further damage. Whether you decide to tackle the repair yourself or call in the experts, timely maintenance is the key to keeping your home’s exterior looking great and performing well for years to come.

Siding Repair: The Key to Maintaining Your Home's Exterior